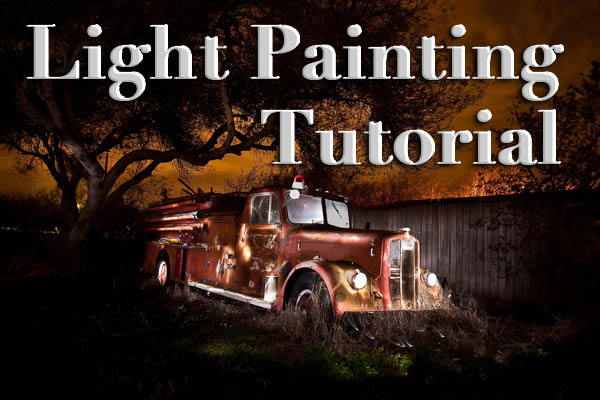
Light Painting Part One – the Photography
- EQUIPMENT FOR NIGHT PHOTOGRAPHY
- The “Must Haves”
- The “Really Nice to Haves” – not essential, but sure handy
- CAMERA SETTINGS
- FINDING A GOOD SUBJECT
- GETTING STARTED – SETTING UP
- LIGHT PAINTING – HOW TO DO IT
- Setting up your base exposure
- Adding the flashlight – tips for light painting
- REVIEW YOUR IMAGE AND DO IT ALL AGAIN
- The things you want to look for in your first image are
- MAKING A MULTIPLE IMAGE COMPOSITE – SHOOTING FOR IT
Action plan steps
- get the right gear
- find a good subject, get permission if need be
- set up your camera using the starting settings
- take your base exposure test shot
- add your flashlight and light painting
- review and continue
- The “Must Haves”
- The “Really Nice to Haves” – not essential, but sure handy
- Setting up your base exposure
- Adding the flashlight – tips for light painting
- The things you want to look for in your first image are
Action plan steps
- get the right gear
- find a good subject, get permission if need be
- set up your camera using the starting settings
- take your base exposure test shot
- add your flashlight and light painting
- review and continue
CHECK OUT PART 2 OF THIS SERIES HERE
- how to create one big layered file of all your images
- what layer settings to use to “turn the lights on” with each added image
- how to get rid of any unwanted areas of each image
- how to easily “dim the lights” on any shots that were too bright
- saving your final combined image as a masterpiece
Okay so it seems like a lot of steps but once you get the hang of it, then it really doesn’t take that long to make something you can wow your friends with. They’ll be asking you “how’d you do that?!” in no time! Let’s take a look at the steps in short form again:
- open your files as layers into one document
- align the layers in perfect registration
- change the layer blend modes to “lighten” (all except the bottom layer)
- add a layer mask to each layer and paint in areas you want, or hide areas you don’t want to appear in the final image
- save as a layered PSD file
- http://digital-photography-school.com/light-painting-part-two-photoshop/
No comments:
Post a Comment