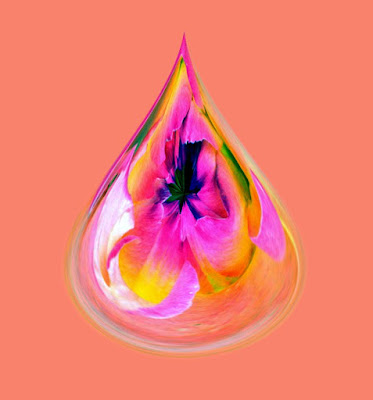
Howard is always wonderfully willing to share his photography skills and secrets with everyone. Thanks Howard!
Linda requested instuctions on how to make a tear drop. This is a continuation from the globe. Please send it out on the blog.
Tear Drop 1: Select a picture and open in the editor
2: Crop it to square
3: Select Filter; Distort; Polar Coordinates; Polar to Rectangular.
4: Select Image; Rotate; Flip Vertical
5: Select Filter; Distort; Polar Coordinates; Rectangular to Polar.
This will return an orb to you IMPORTANT: use the eyedropper tool and select the color that surrounds the orb as your foreground color
6: Next, select Image; Resize; Canvas Size...
Enter 300 percent in both the Width and Heigth boxes (300 percent gives a good result. I have used 200 and 250 to make shorter fatter droplets - so play around! )
Click on the bottom center arrow in the Anchor to force the orb to the bottom
Make sure Foreground is selected in the dropdown at the bottom of the Canvas
Size window
Click OK If the add to canvas didn’t turn on you may have to use the magic wand to select the blank space and the paint bucket to fill it in. Then control D to deselect.
7: Select Filter; Distort; Polar Coordinates; Polar to Rectangular.
8: Select Image; Rotate; Flip Vertical
9: Select Filter; Distort; Polar Coordinates; Rectangular to Polar.
You should now have a droplet.
My distorted droplets where done using the Liquify filter.
No comments:
Post a Comment